Gear Guides
Optimal Motorcycle Chain Tension: A Comprehensive Guide for Riders
by
OPlace
on
Apr 07, 2026
Understanding Motorcycle Chain Tension: Why It Matters
Maintaining proper motorcycle chain tension is crucial for performance, safety, and the longevity of your drivetrain. Too loose, and you risk excessive wear and poor power transfer. Too tight, and you could damage your sprockets, transmission bearings, or even snap the chain.
The Consequences of Incorrect Chain Tension
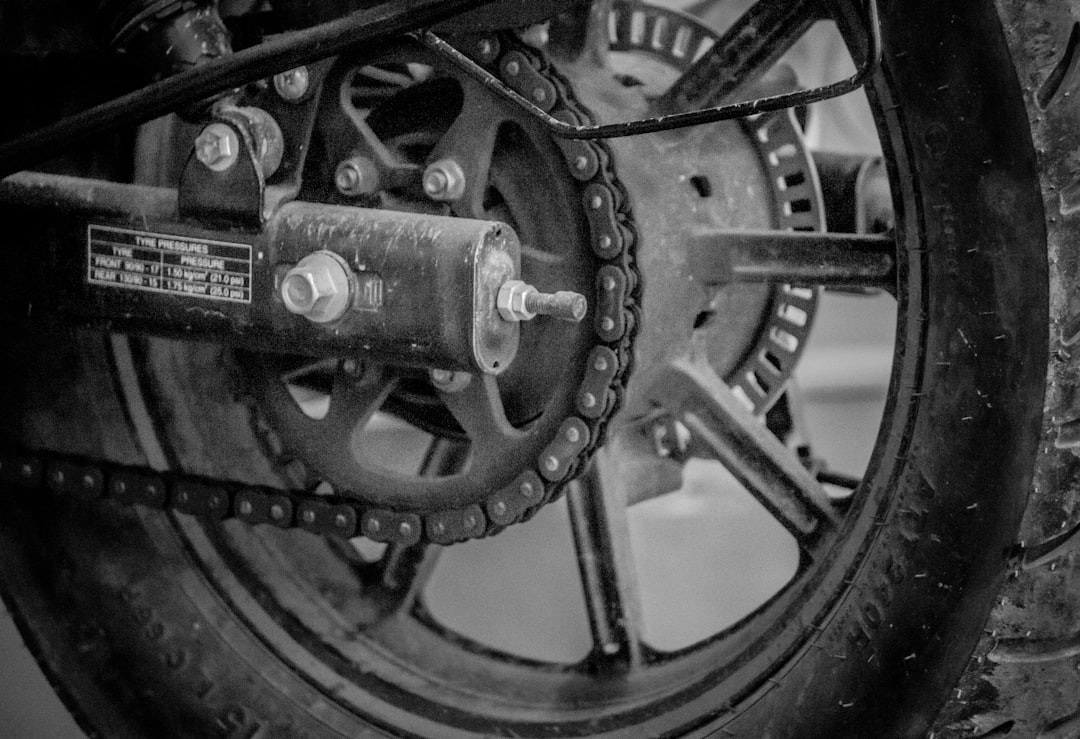
* **Excessive Wear:** A chain that's too loose slaps around, accelerating wear on the chain itself, the sprockets, and the chain slider.
* **Poor Handling:** Slack in the chain can lead to jerky throttle response and unpredictable handling, especially during acceleration and deceleration.
* **Risk of Chain Failure:** Overly tight chains are prone to snapping, which can cause a loss of control and significant damage to your motorcycle.
* **Damaged Components:** Excessive tension puts undue stress on the transmission output shaft bearing and the rear wheel bearings.
Finding the Ideal Chain Tension
Your motorcycle's owner's manual is the primary source for the recommended chain slack. It's typically measured as the vertical free play in the middle of the chain's lower run, between the sprockets. This value is usually expressed in millimeters or inches.
Locating the Measurement Point
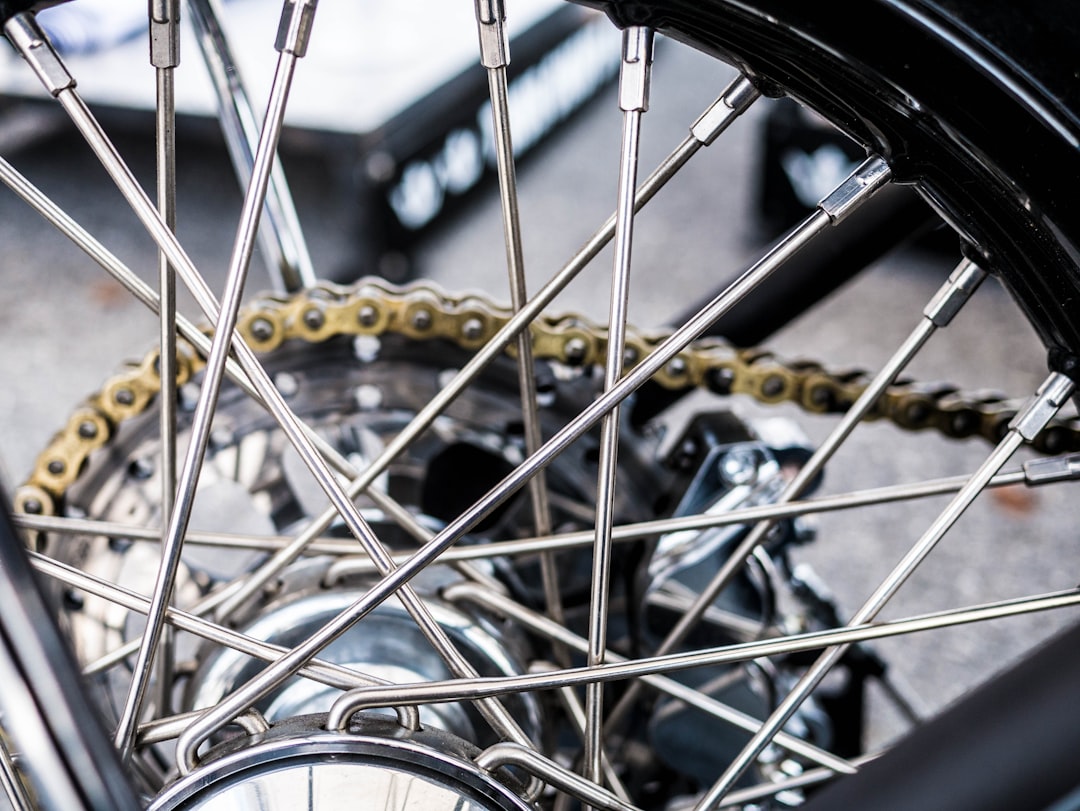
The measurement point is generally halfway between the front and rear sprockets on the lower section of the chain. Some motorcycles may have markings on the swingarm to help identify this location.
Understanding Slack vs. Tension
It's important to remember that you're measuring *slack*, not directly measuring tension. Slack allows for the suspension to move through its full range of motion without putting undue stress on the chain when the swingarm is at its most extended position. Therefore, measuring chain tension when the suspension is fully compressed will not accurately represent the ideal chain tension.
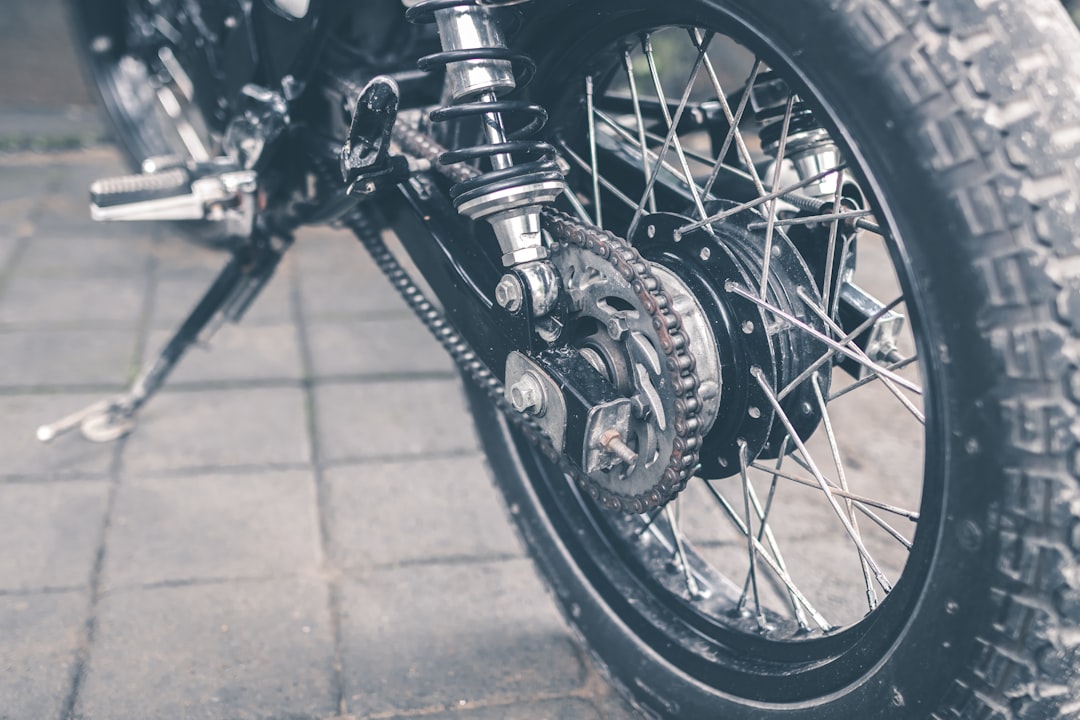
How to Adjust Motorcycle Chain Tension: A Step-by-Step Guide
1. **Gather Your Tools:** You'll need a wrench or socket to loosen the axle nut, a wrench or socket to adjust the chain adjusters, a ruler or measuring tool, and potentially a torque wrench to tighten the axle nut to the manufacturer's specification.
2. **Loosen the Axle Nut:** Break the axle nut loose, but do not remove it completely. It needs to be loose enough to allow the rear wheel to move forward and backward.
3. **Adjust the Chain Adjusters:** Most motorcycles use snail-cam adjusters or threaded rods. Turn the adjusters evenly on both sides of the swingarm to achieve the desired chain slack. Ensure that the alignment marks on the swingarm are aligned equally on both sides to maintain proper wheel alignment. Correct alignment is important for proper handling. **OPlace's Alignment Tool** can help with ensuring perfect alignment.
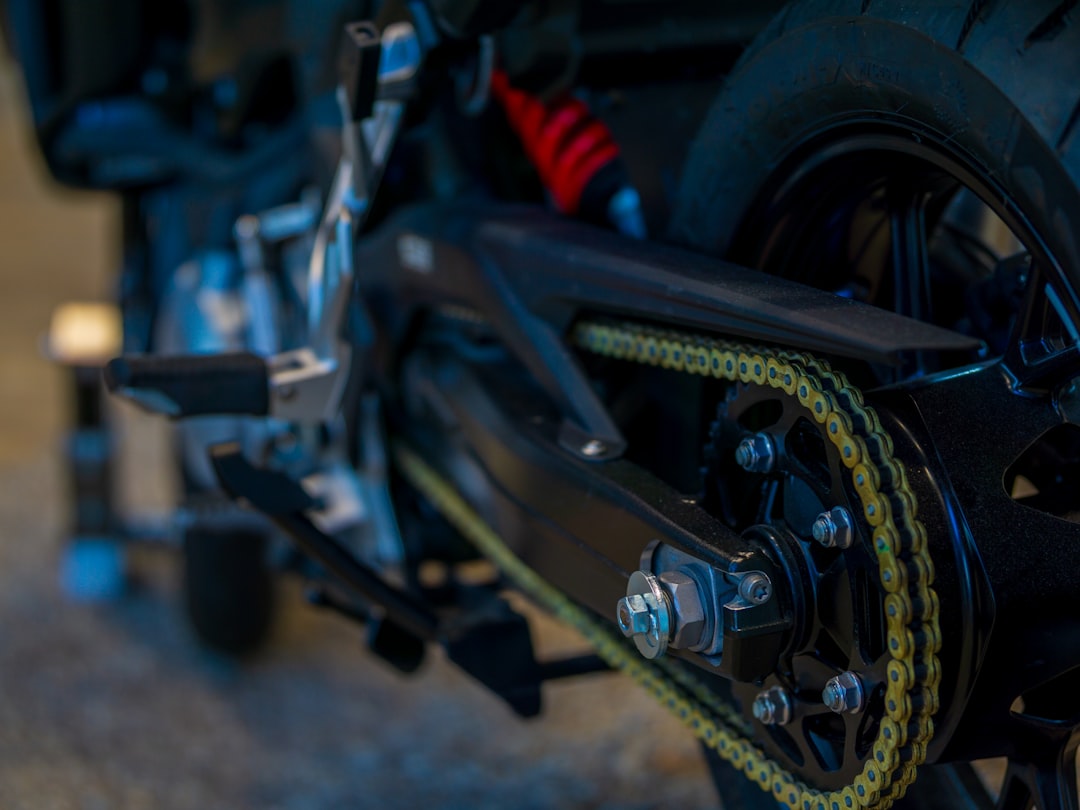
4. **Check Chain Slack:** Measure the vertical free play in the chain again to ensure it falls within the recommended range.
5. **Tighten the Axle Nut:** Torque the axle nut to the manufacturer's specified torque. Over-tightening can damage the bearings, while under-tightening can lead to the nut loosening during riding.
6. **Re-Check Chain Slack:** After tightening the axle nut, re-check the chain slack to ensure it hasn't changed during the tightening process.
7. **Lubricate the Chain:** After adjusting the chain, apply chain lubricant to keep it running smoothly and prevent wear.
Signs of a Worn Motorcycle Chain
* **Stiff Links:** If some links are tight and don't move freely, the chain is likely worn and needs to be replaced.
* **Excessive Stretching:** If you find yourself constantly adjusting the chain to maintain proper tension, it's probably stretched beyond its usable limit.
* **Damaged Rollers:** Check the rollers for cracks, chips, or excessive wear. Damaged rollers indicate a worn chain.
* **Sprocket Wear:** Inspect the sprockets for hooked or pointed teeth. If the sprockets are worn, they should be replaced along with the chain.
Tips for Extending Chain Life
* **Regular Cleaning and Lubrication:** Clean and lubricate the chain every 300-600 miles, or more frequently in wet or dusty conditions.
* **Proper Tension Adjustment:** Maintain the correct chain tension at all times.
* **Avoid Harsh Acceleration and Deceleration:** Smooth riding habits will reduce stress on the chain.
* **Use Quality Chain Lubricant:** Choose a lubricant specifically designed for motorcycle chains.
* **Inspect Regularly:** Routinely check the chain for wear, damage, and proper tension.
By understanding and maintaining proper motorcycle chain tension, you'll enjoy a smoother, safer, and more reliable riding experience. Remember to consult your owner's manual for specific recommendations for your motorcycle model.


